< BACK TO LEARNING HUB
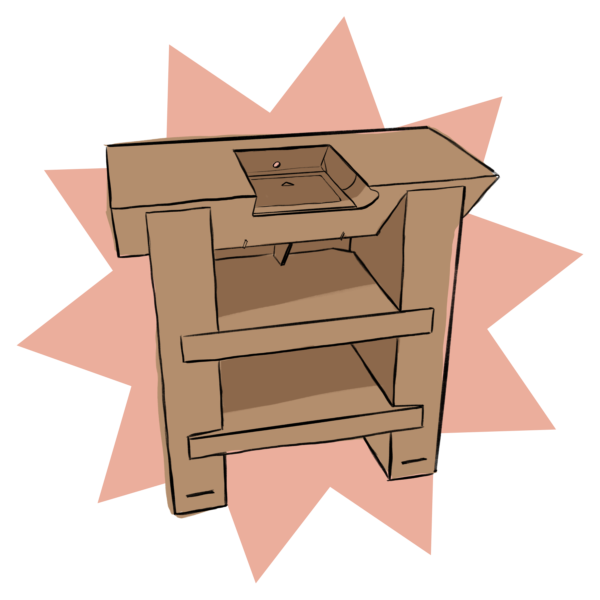
Cardboard Workstation
Build your own workshop
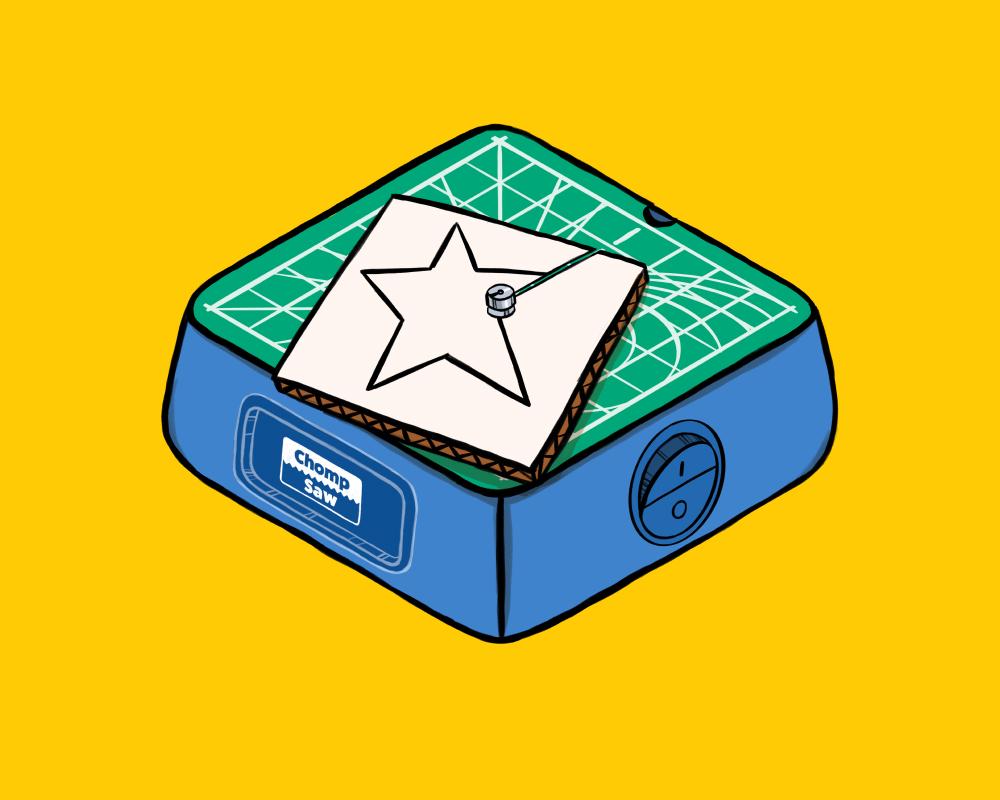
This easy-to-build workstation holds your ChompSaw safely and keeps all your materials organized. With everything in one place, you'll be ready to dive into your next project in no time!
Step-by-Step Instructions
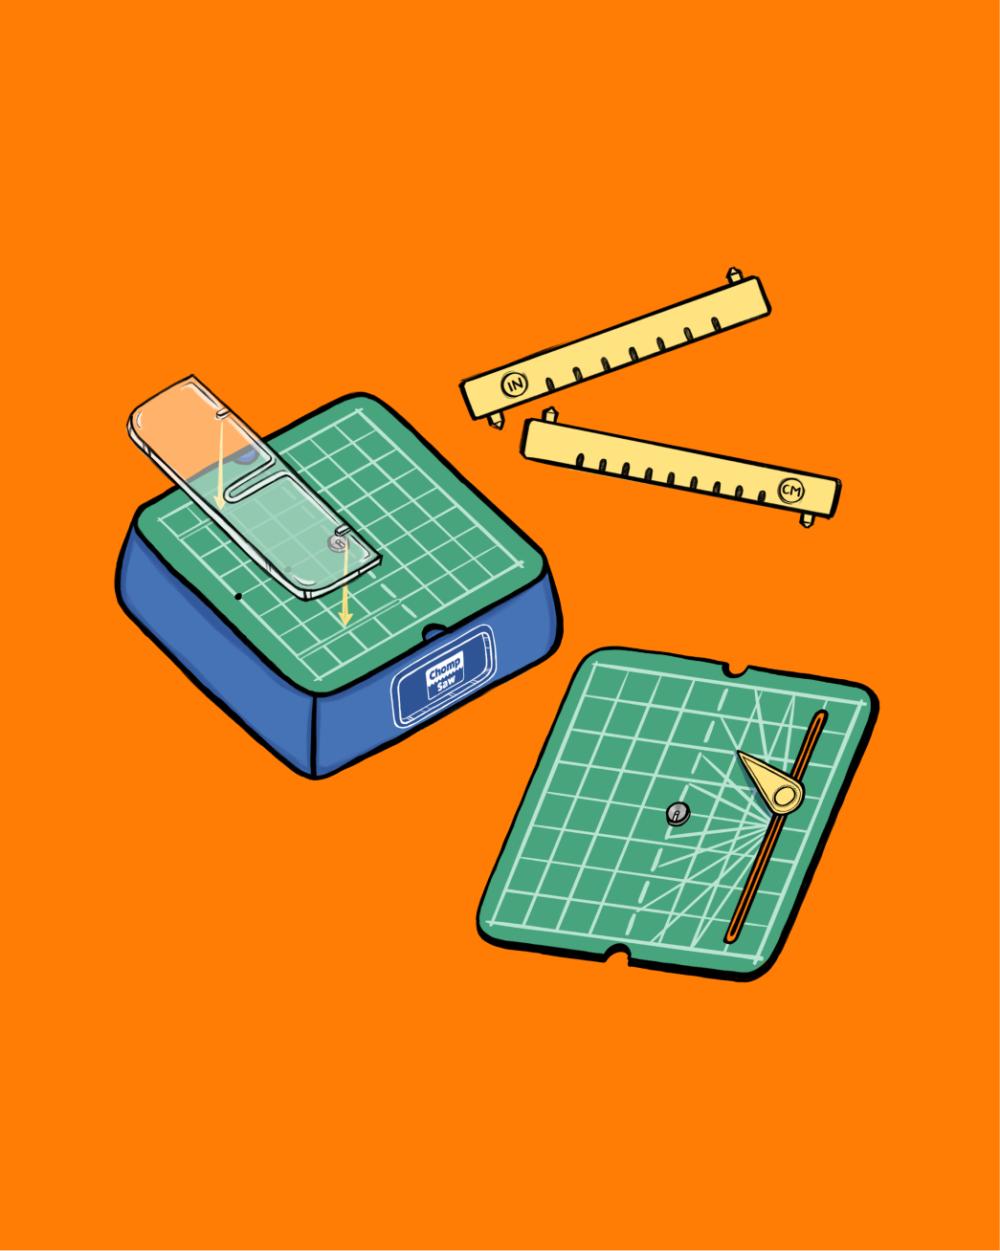
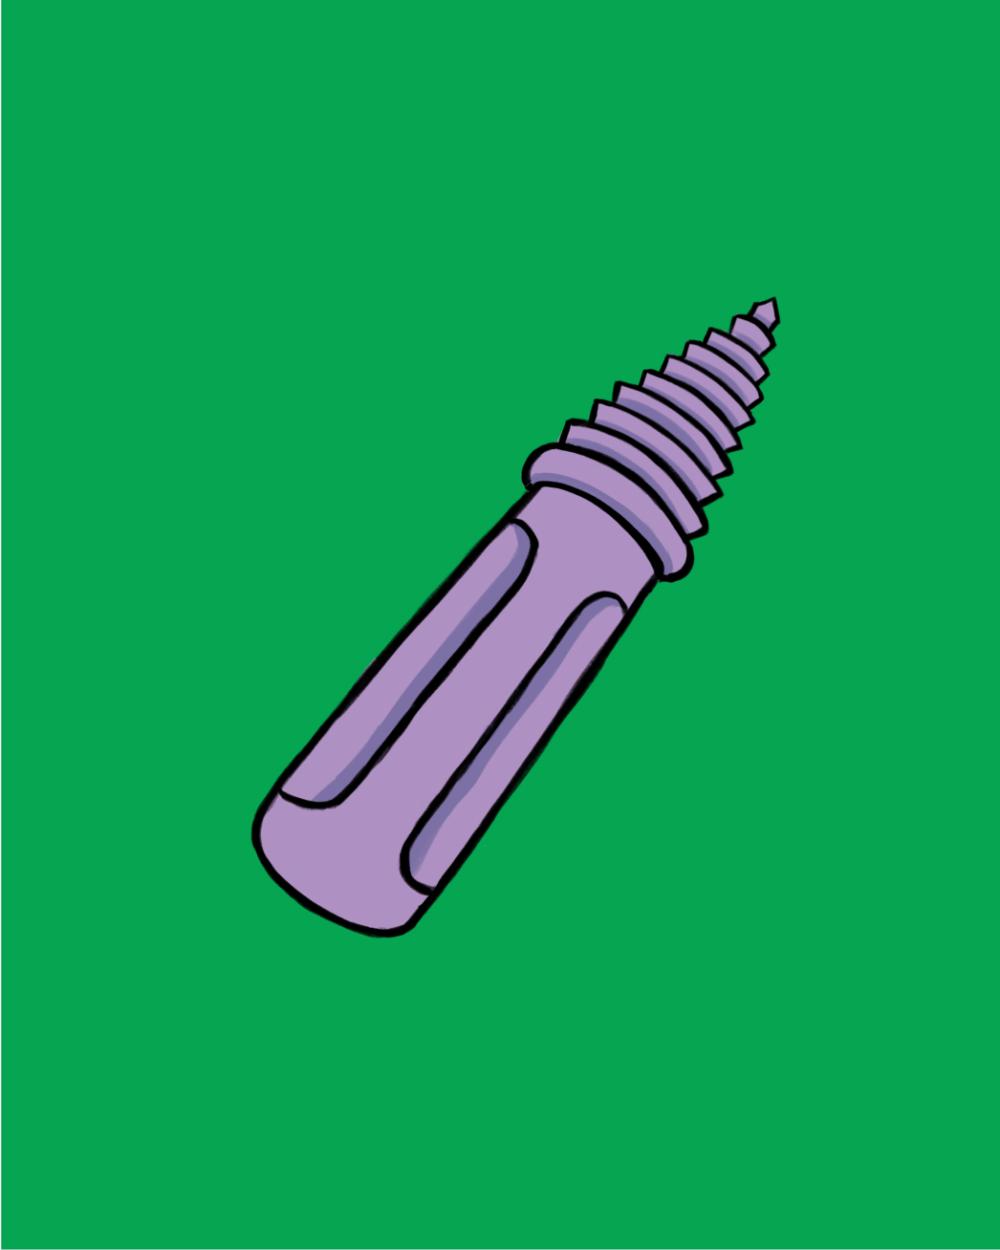
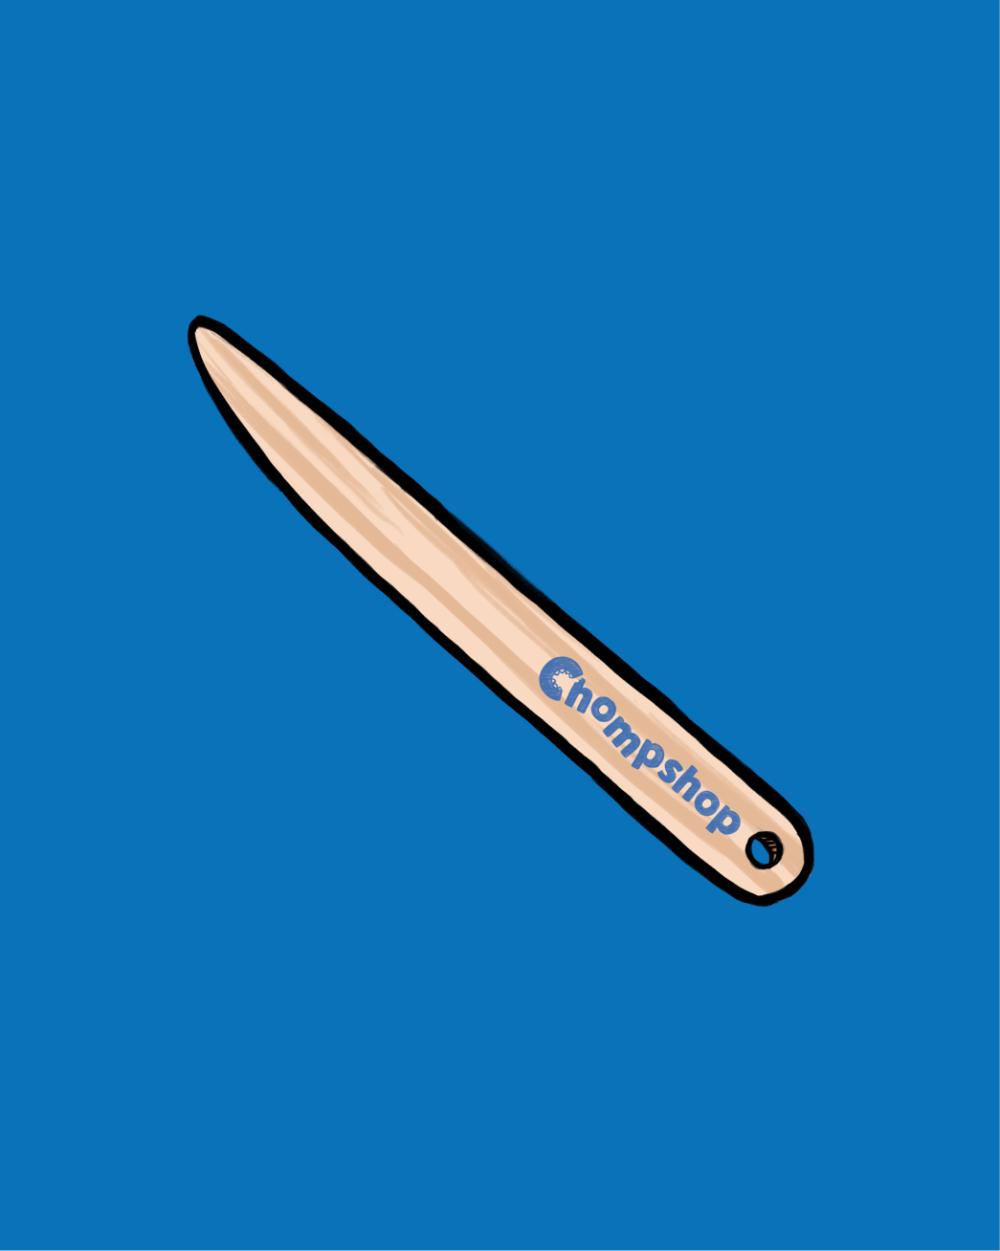
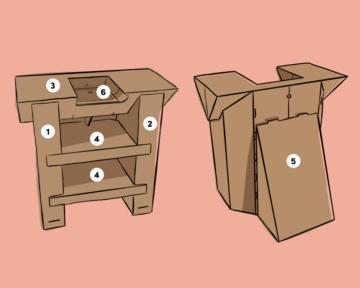
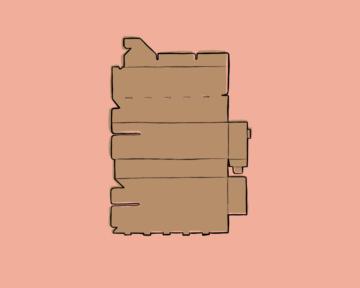
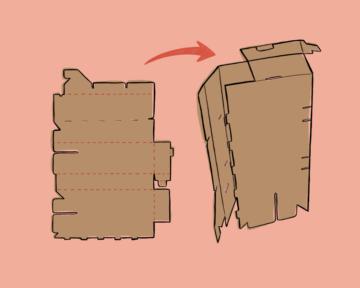
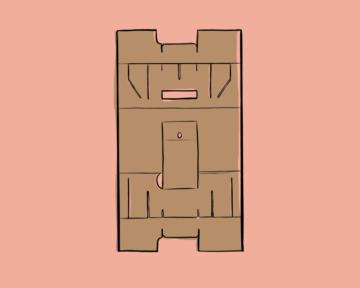
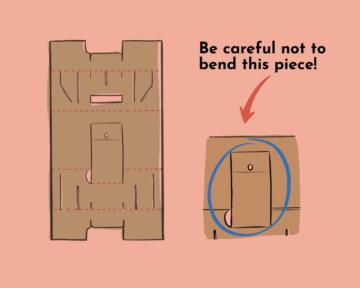
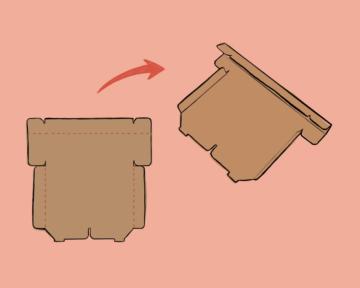
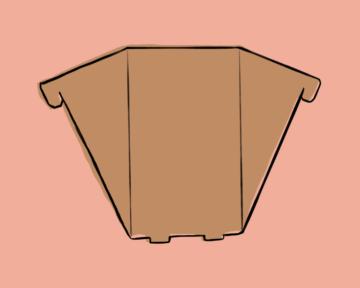
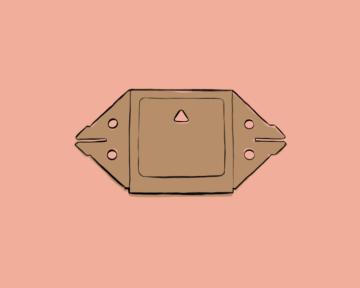
DOWNLOAD PDF INSTRUCTIONS1) Get to know your parts
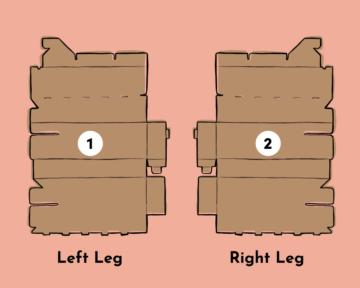
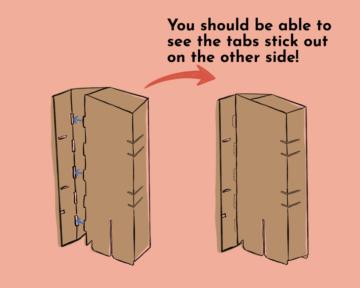
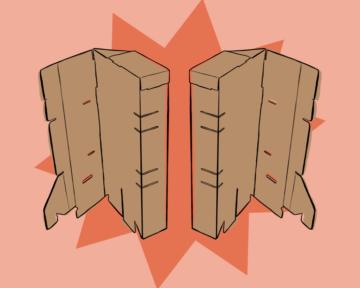
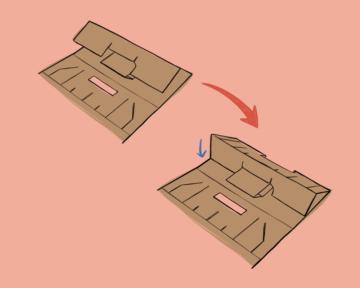
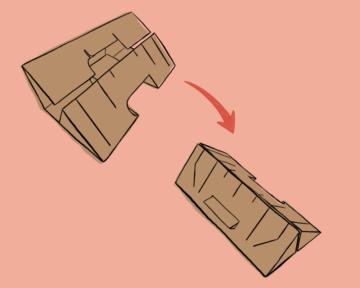
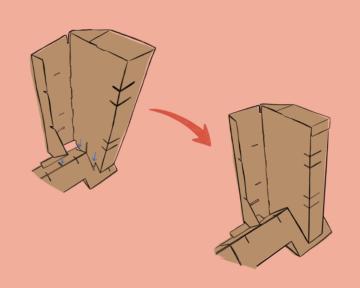
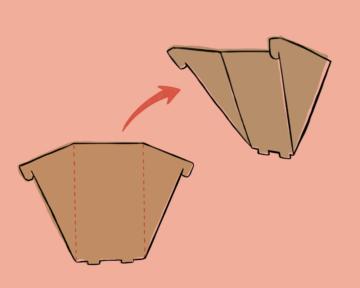
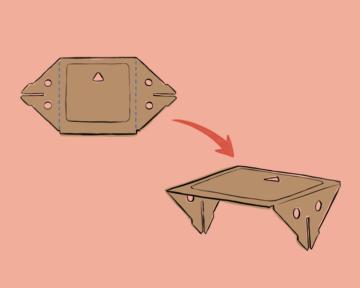
2) Build the legs
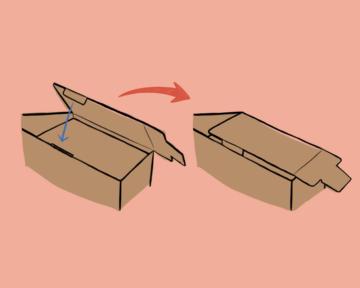
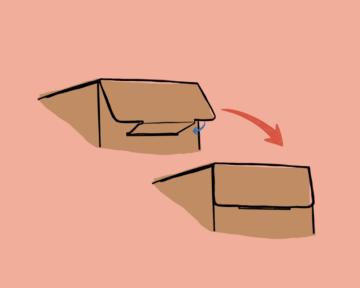
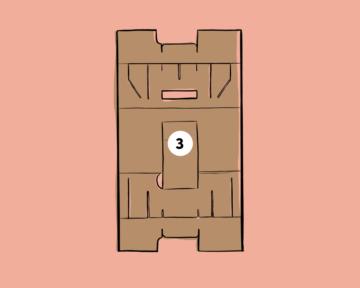
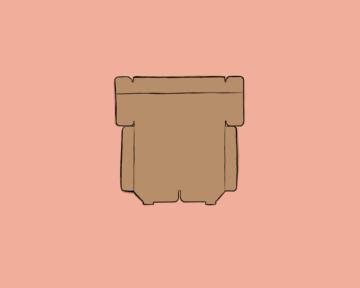
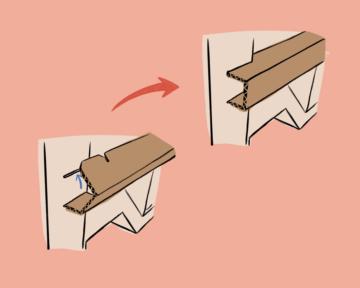
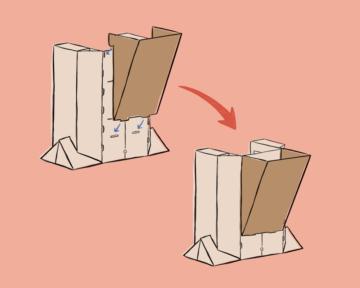
3) Build the table top
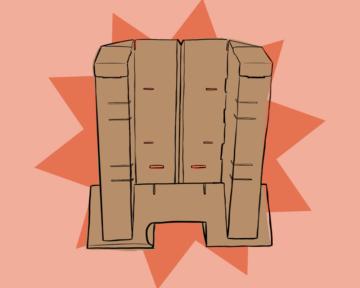
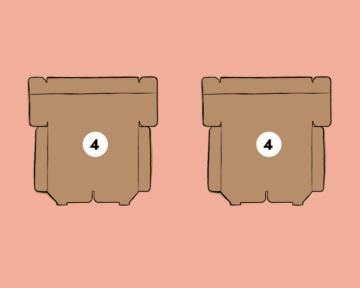
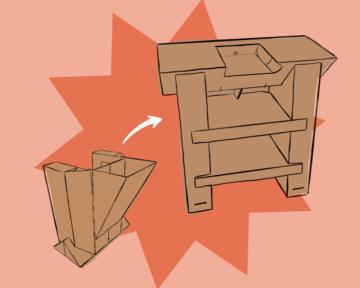
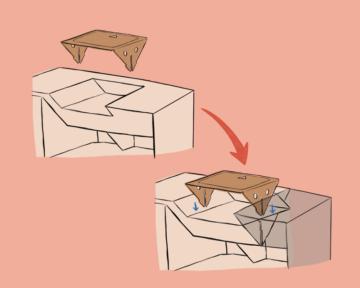
4) Build the shelves

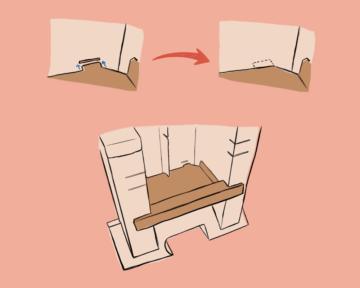
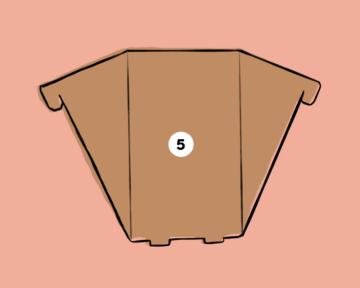
5) Build the table support
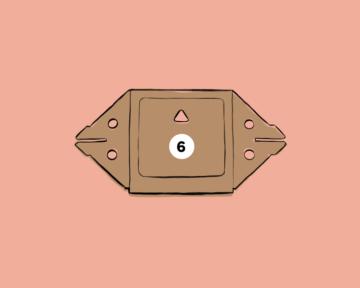
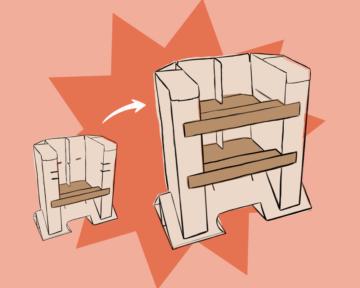
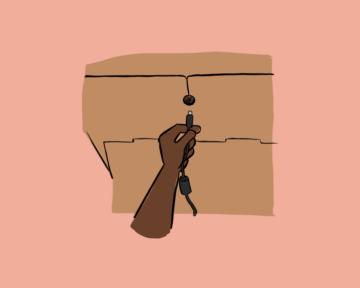
6) Build the ChompSaw insert
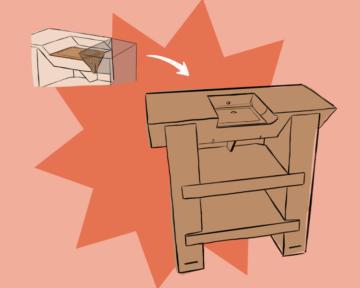
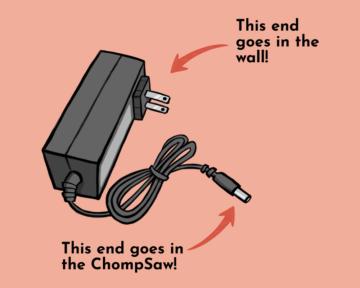
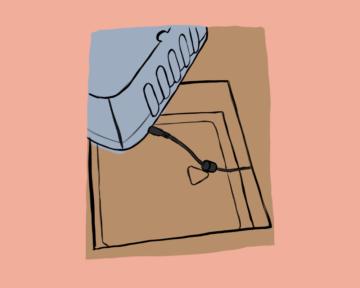
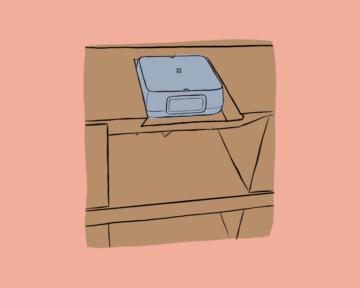
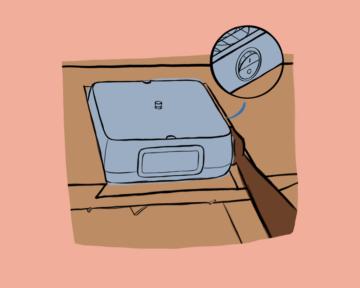
7) Set up your ChompSaw
Stash something heavy (like books, weights, or sand) in the feet of your table legs to make it even more sturdy.