
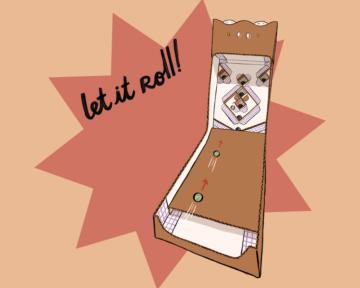
Skeeball
Roll to the goal
Bring the arcade home with this Skee Ball game that you can build and play anywhere. Rack up the points and challenge your friends!
Step-by-Step Instructions
DOWNLOAD PDF INSTRUCTIONSFor this project, you will need:

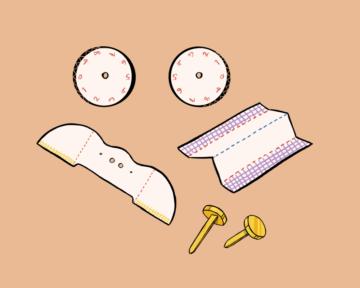
ChompSaw
You’ll need your ChompSaw handy to cut out all your parts.
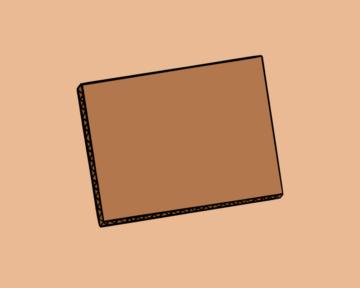
Cardboard
The main material that you’ll need to collect is cardboard. Try to find pieces that are 2-3mm thick!
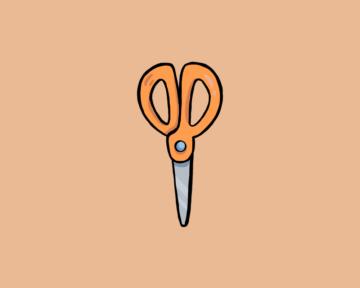
Scissors
You'll need a pair of scissors to cut out your paper pattern.

Glue stick
You’ll use glue to stick your paper pattern on to cardboard.
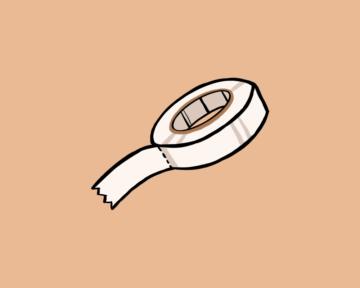
Double-sided tape
Double-sided tape (included in your project pack) will help you stick all your parts together.
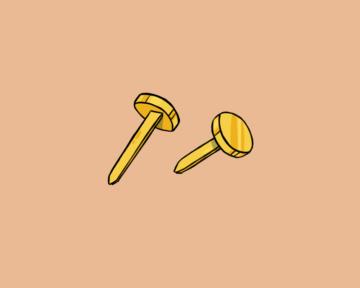
Fasteners
You'll use 2 brass fasteners (included in your project pack) to connect parts of your game.

Marble
You’ll use the marble (included in your project pack) to play the game!
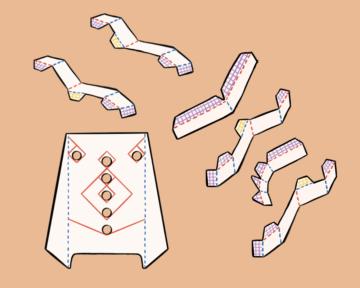
1) Prepare your parts
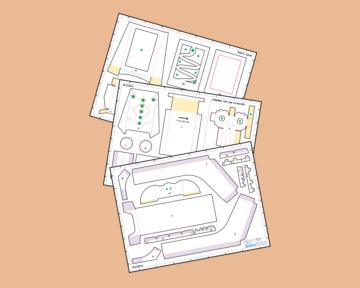
1. Grab your Skee Ball pattern
This is your blueprint for building this project.

2. Follow our Pattern Guide
Learn how to read patterns and prepare parts for assembly with our Chompshop Pattern Guide. For this intro project, we’ll also walk you through all those steps here.
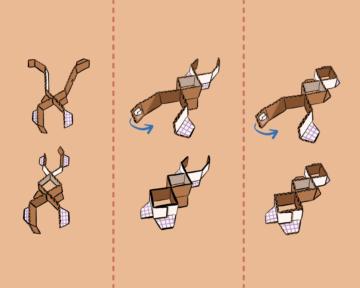
2) Build the main housing assembly
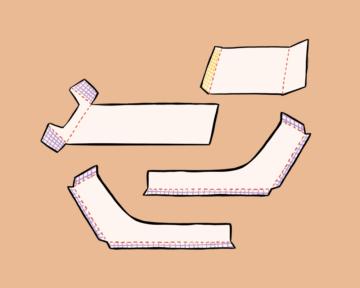
1. Grab parts D, E, F, and H
Look for the pattern pieces labeled with these letters.
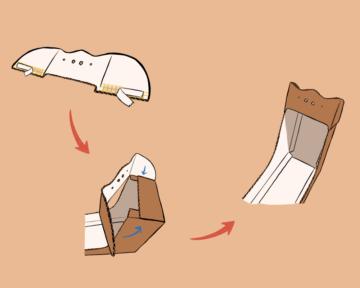
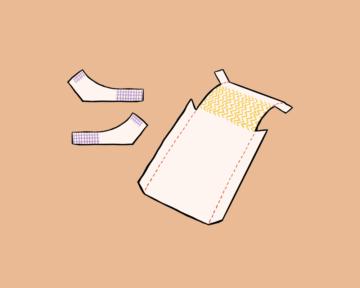
2. Attach parts D and H
Peel the tape adhesive on part H, and attach to part D as shown.
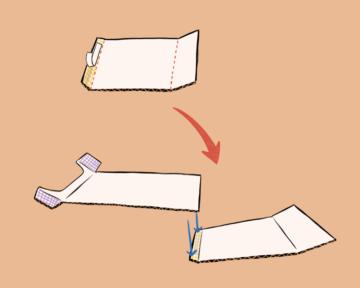
3. Attach part E
Peel the long strip of adhesive on part E, and attach to part D as shown.

4. Attach part F
Repeat for the other side with part F.

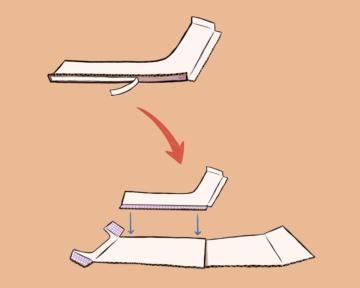
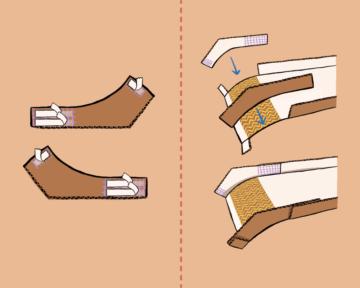
5. Wrap part H
Pull the remaining adhesive on parts E and F. Then wrap part H over the assembly as shown.

6. Seal part D
Peel adhesive on part D. Then fold in the flaps to attach as shown.
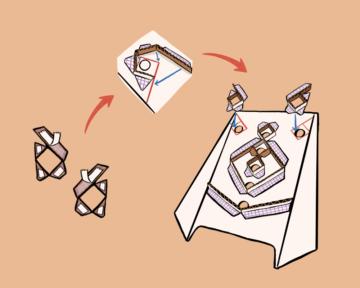
3) Build housing details
1. Grab parts G, I, L, M, and fasteners
Look for the pattern pieces labeled with these letters.
2. Attach part G to housing
Remove adhesive on part G. Then align part G’s flap with the top of the main housing assembly and attach as shown.
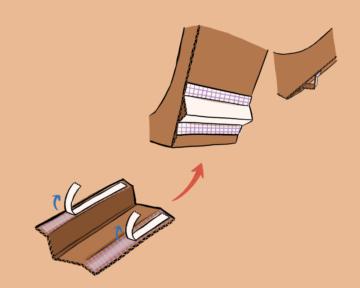
3. Attach part I on the base
Remove adhesive on part I. On the bottom of the housing, line up the edge of part I with the tab of part H, then attach. Make sure that part I folds out at a 90-degree angle.
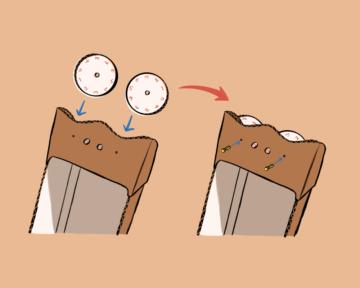
4. Attach dials
Use the fasteners to secure the dials (parts L and M) to the back of part G. You should be able to see numbers peek out from behind the holes when you turn the dials!
4) Build the target board
1. Grab parts K, P, Q, R, S, T, and U
Look for the pattern pieces labeled with these letters.
2. Assemble parts S and U
Use the slots on parts U and S to connect them together into a criss-cross shape. Peel the adhesive on one of the end tabs and close the ring. Then repeat for the other side.
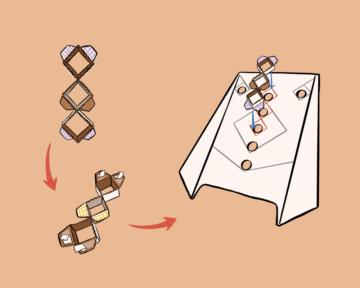
3. Attach rings to part K
Peel the remaining adhesive on the bottom of the rings and attach it over the markings on the center of part K.
4. Attach part P
Peel adhesive on part P and attach it over the markings around the rings on part K.
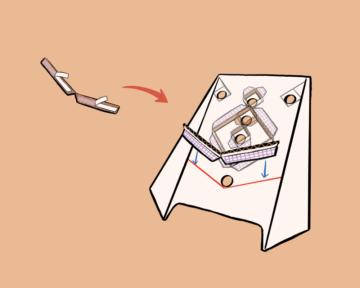
5. Attach part R
Peel adhesive on part R and attach it over the markings on the bottom of part K.
6. Attach parts Q and T
Peel adhesive on parts Q and T and attach them over the markings on the top of part K.
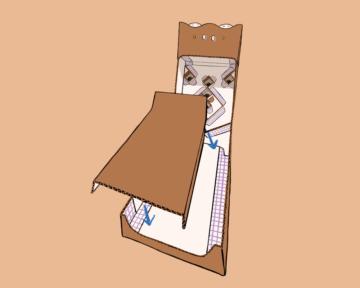
7. Fold target board
Fold in the side flaps of part K.
8. Place target board
Place the completed target board in the main housing assembly.
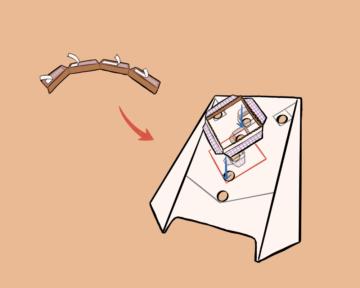
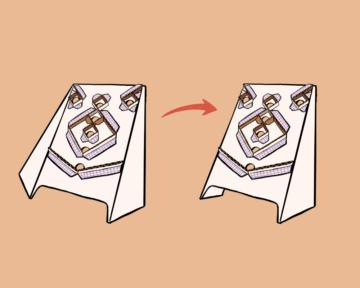
5) Build the ramp
1. Grab parts J, N, and O
Look for the pattern pieces labeled with these letters.
2. Attach parts N and O
Peel adhesive on parts N and O, then attach to part J as shown.
3. Place ramp
Flip over the completed ramp and place in the main housing assembly.
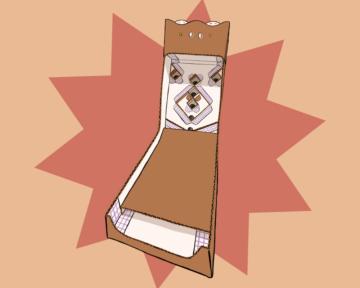
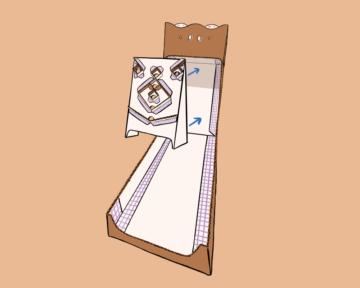
Done!
You’re ready to play!
6) Play!
1. Roll the marble
Throw the marble so it rolls up the ramp—the goal is to get the marble to land in one of the holes on the target board!
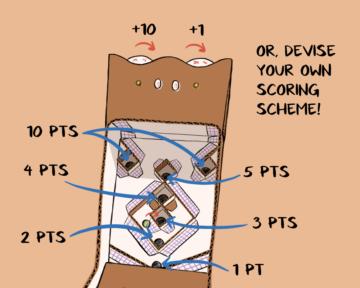
2. Keep score
Each ring on the target board is worth a set number of points. Count up your points and use the dials to keep track as you play. Take turns with friends and see who can get the highest score!
Practice your aim! Speed and angle can make a big difference in where the marble lands.
