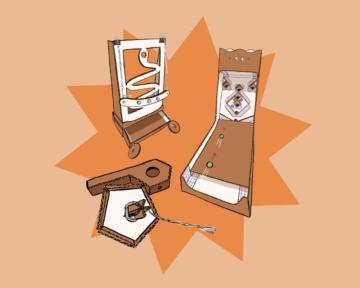
Spinning Top
let it rip!
Master the art of spinning! Craft this spinning top and top launcher, and get ready to experiment with speed and momentum.
Step-by-Step Instructions
DOWNLOAD PDF INSTRUCTIONSFor this project, you will need:
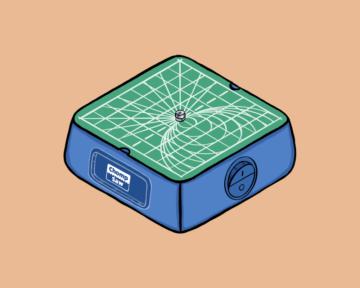
ChompSaw
You’ll need your ChompSaw handy to cut out all your parts.
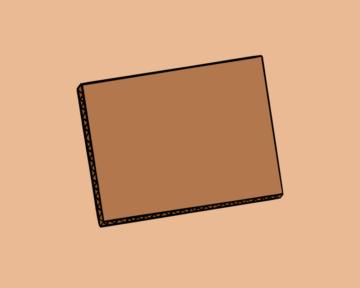
Cardboard
The main material that you’ll need to collect is cardboard. Try to find pieces that are 2-3mm thick!
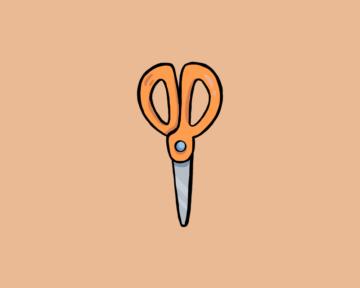
Scissors
You'll need a pair of scissors to cut out your paper pattern.
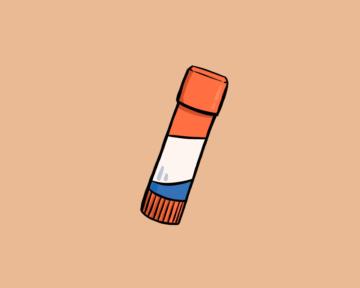
Glue stick
You’ll use glue to stick your paper pattern on to cardboard.

Double-sided tape
Double-sided tape (included in your project pack) will help you stick all your parts together.
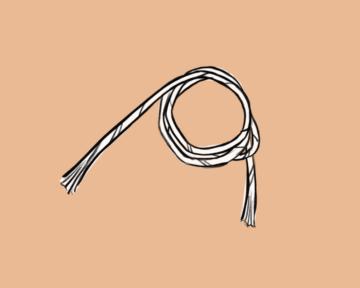
Cord
The cord (included in your project pack) is what you will pull to get your top spinning!
1) Prepare your parts
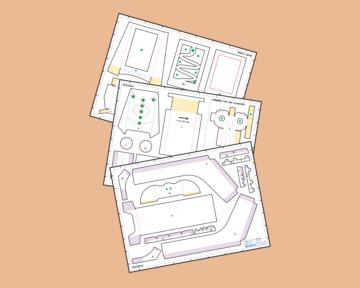
1. Grab your Spinning Top pattern
This is your blueprint for building this project.
Follow our Pattern Guide
Learn how to read patterns and prepare parts for assembly with our Chompshop Pattern Guide. For this intro project, we’ll also walk you through all those steps here.
2) Build the top
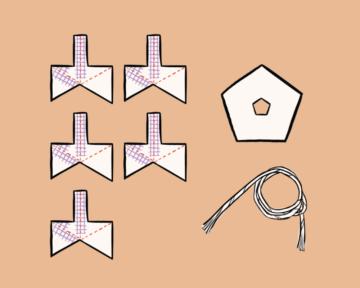
1. Grab parts A, B, and cord
Look for the pattern pieces labeled with these letters.
2. Peel adhesive on bottom
Peel the adhesive on the bottom of each part A.
3. Fold into pyramid
Fold part A so the bottom forms an open pyramid, and firmly press the adhesive into place. Repeat for all 5 part A pieces.
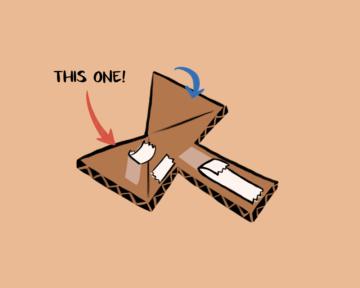
4. Combine 2 parts
Peel the remaining adhesive on a part A, and attach to another part A as shown. Make sure they’re lined up precisely.
5. Prep the other side
Now it’s time for the other side! Peel the adhesive on the remaining part As.
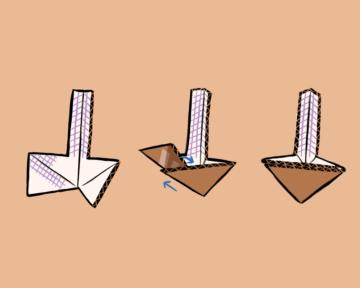
6. Combine 3 parts
Attach the 3 remaining part As together.
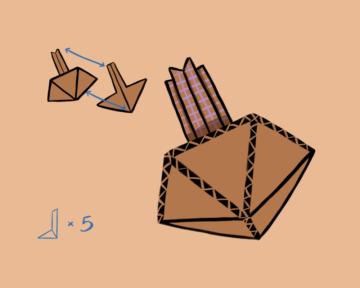
7. Combine together
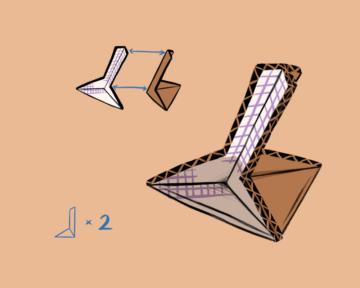
Combine both part A sections together to create a 5-sided top shape.
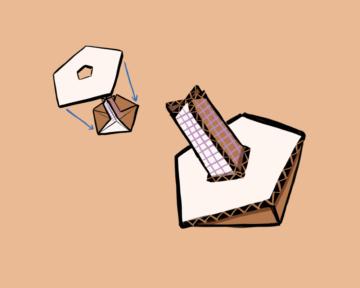
8. Attach part B
Slide Part B over the end of the top.
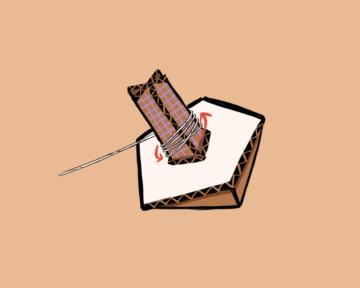
9. Wrap cord
Take the cord and wrap it around the stem of the top. Leave around 6 inches of slack at the end!
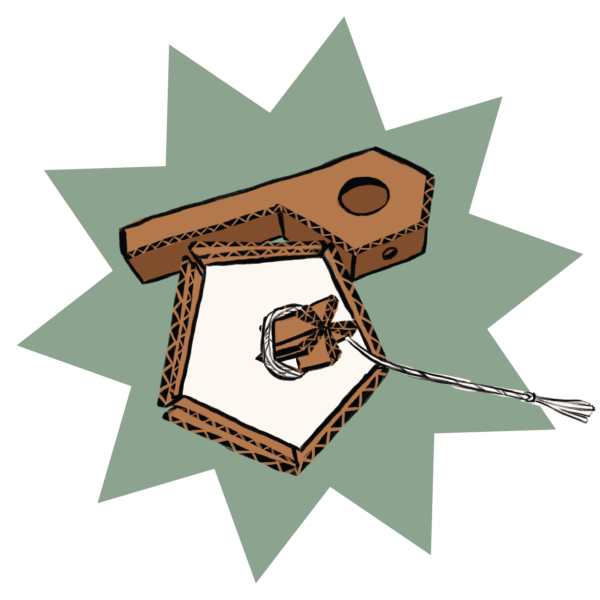
3) Build the launcher
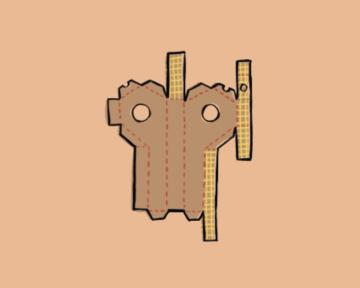
1. Grab part C
Look for the pattern pieces labeled with these letters.
2. Peel adhesive
Peel all the adhesive on part C.
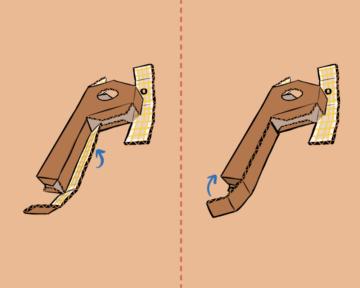
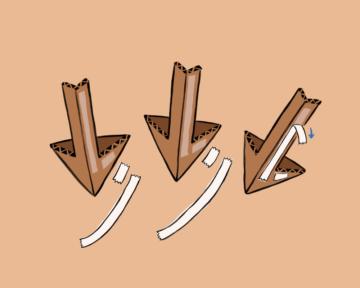
3. Fold bottom
Fold part C as shown. Then fold up the long tab at the bottom, and press the adhesive into place to seal the handle.
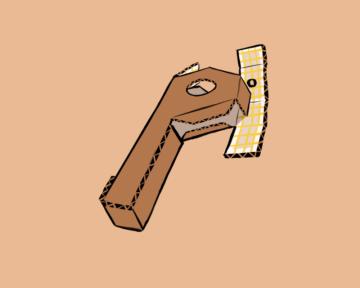
4. Double check shape
Double check to make sure you have what looks like a boxy “P” shape.
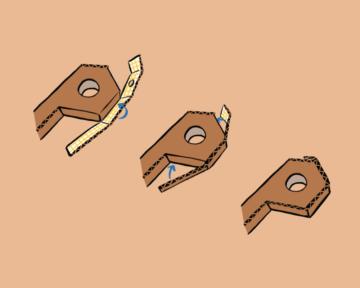
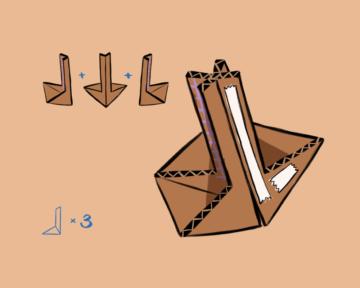
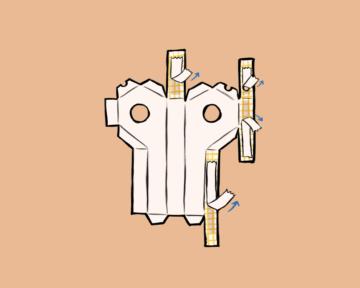
5. Fold top
Now fold up the other tab as shown, and press the adhesive into place to seal the top of the launcher.
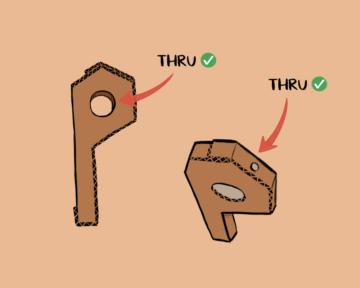
6. Double check holes
Double check to make sure that both holes are nicely lined up and go all the way through!
Done!
You’re ready to play!
4) Play!

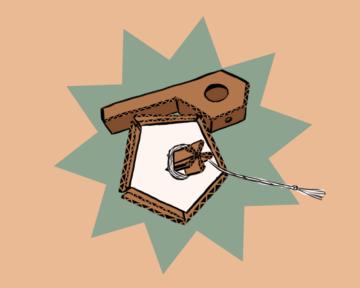
1. Feed cord
Feed the loose end of the cord through the holes of the launcher as shown.
2. Place launcher over top
Place the launcher over the stem of the top as shown.

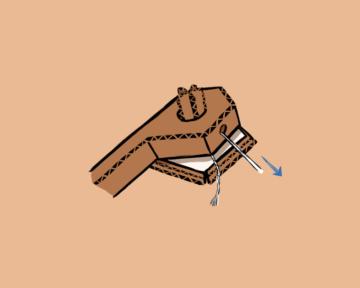
3. Hold
Hold the launcher handle with your left hand, and hold the end of the cord with your right hand. Tip: if you’re left-handed, just flip the launcher around!
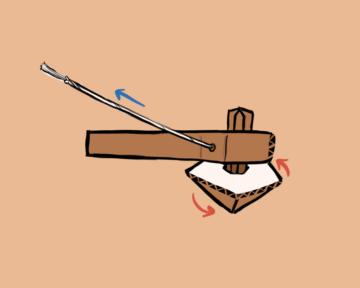
4. Pull cord
Pull the cord back to quickly twist and release the top from the launcher.
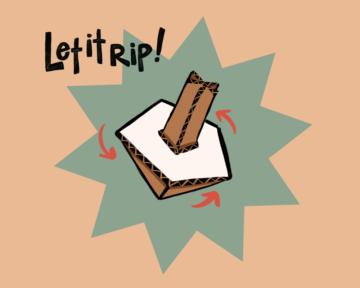
Set a new record!
Add tape/glue to the yellow checkered section of the astronaut hub (part F).
The trick to getting your top zooooOOooming is to pull quickly and smoothly. See if you can get it to spin longer each time!