Pattern Guide
Prep patterns like a pro
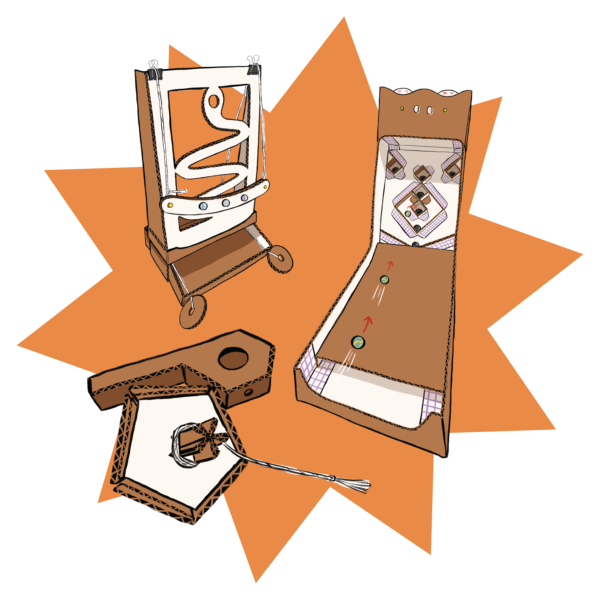
This guide will walk you through our simple pattern system, getting you ready to tackle any Chompshop project pack.
PDF Instructions
DOWNLOAD PDF PATTERN GUIDEGet to know your symbols
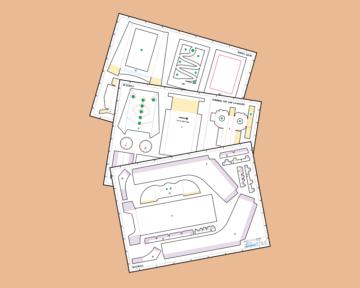
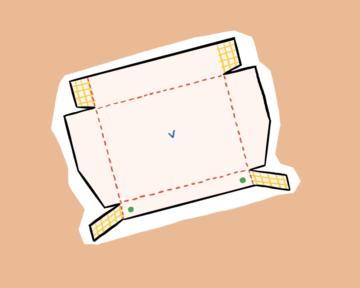
Pattern Symbols
Chompshop patterns have color-coded symbols to show you what to do with each part. Here’s what they mean:
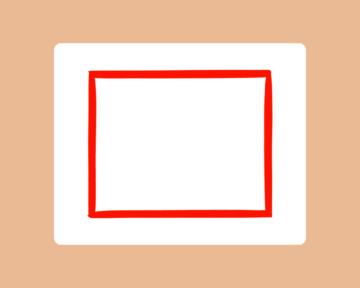
Draw & align boxes
Red boxes show you where to draw your own designs, or help you align parts during assembly.
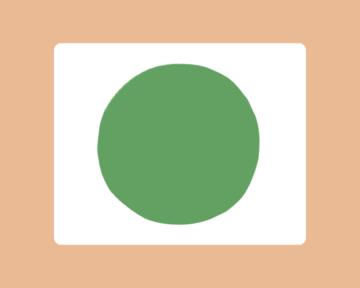
Holes
Green circles show you where to drill holes using your Hole Punch.
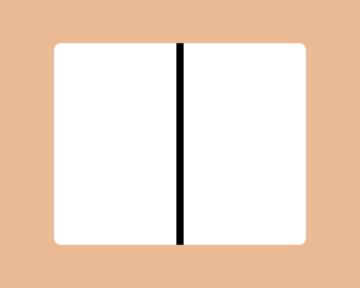
Cut Lines
Solid black lines show you where to cut out each of your parts with your ChompSaw.
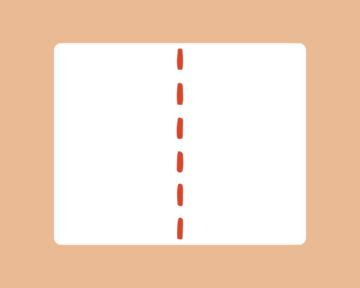
Valley Folds
Red dashed lines show you where to fold upwards, creating a valley shape.
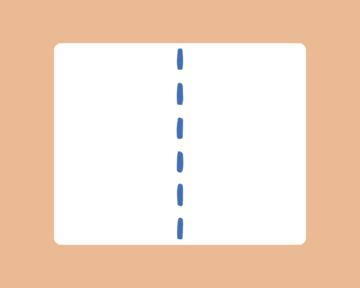
Mountain Folds
Blue dashed lines show you where to fold downwards, creating a peak mountain shape.
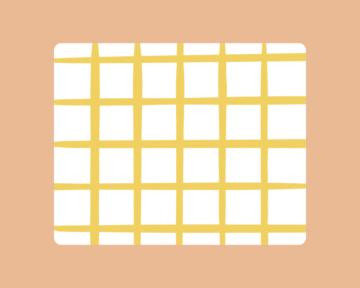
Double-sided tape on front
Yellow checkered sections show you where to apply double-sided tape on the front of the part.
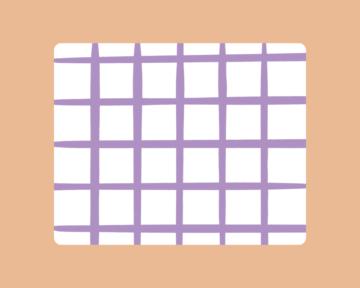
Double-sided tape on back
Purple checkered sections show you where to apply double-sided tape on the back of the part (flip the cardboard!).
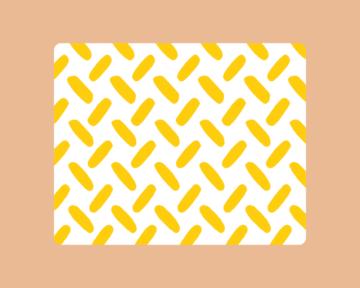
Single-sided tape on front
Yellow diamond plate sections show you where to apply single-sided tape on the front of the part.
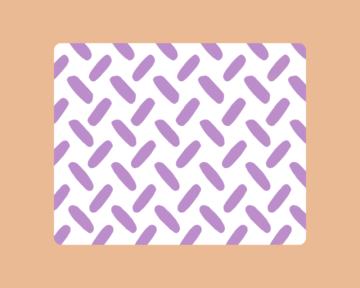
Single-sided tape on back
Purple diamond plate sections show you where to apply single-sided tape on the back of the part (flip the cardboard!).

Remove surface on front
Yellow squiggly lines show you where you will remove a layer of cardboard on the front of the part.
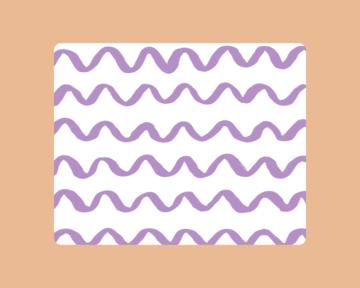
Remove surface on back
Purple squiggly lines show you where you will remove a layer of cardboard on the back of the part (flip the cardboard!).
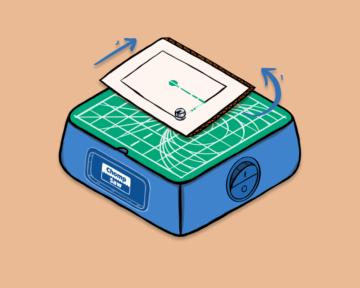
1) Transfer pattern
1. Color in your pattern
Check your pattern to see if there are any red boxes meant for drawing—this is where you can add in your own designs.
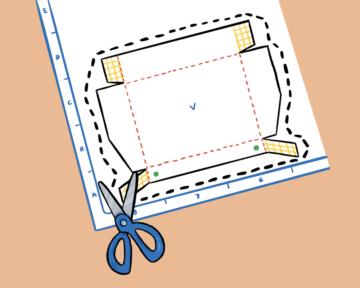
2. Cut out paper parts
Take your paper pattern and cut around each part with scissors. Each part is labeled with a letter!
Tip: Leave some space!
Leave some extra space around the edges of each part—you’ll clean up those lines when you use your ChompSaw.
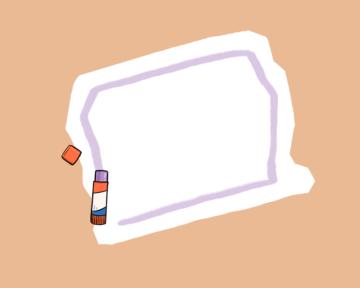
3. Glue the back
Flip each pattern part around and apply glue on the back of the paper.

4. Stick to cardboard
Glue each paper pattern part on to cardboard.
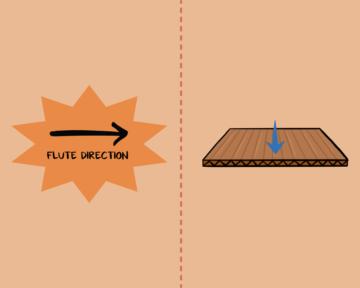
Tip: Follow the flute!
If you see this flute direction symbol, glue the paper pattern so the arrow points in the same direction as the flutes (the ridges in the inside layer of the cardboard).
2) Punch holes
1. Look for green circles
Look for the green circle symbol on your pattern—this is where you’ll punch a hole.
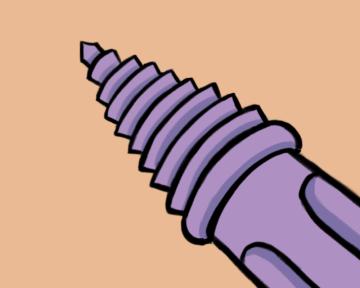
2. Choose your hole size
Each step on the tip of your Hole Punch is a different-sized hole. The green circles on your pattern will tell you which size to punch.
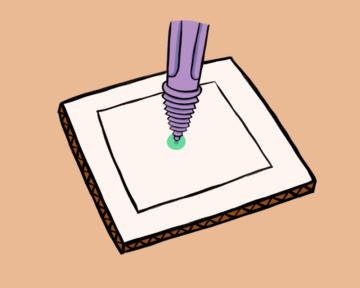
3. Align hole punch
Align the hole punch with the center of the green circle.

4. Punch hole
Hold your Hole Punch like a screwdriver and twist into the cardboard at the green circle.
3) Cut shapes
1. Look for black cut lines
Look for the black lines on your pattern—these are where you’ll be cutting with your ChompSaw.
2. Cut on the lines
Use your ChompSaw to cut out the cardboard parts. For accurate sizes, make sure to chomp right on the lines—not too far inside or outside!
Tip: Cut inside shapes
If your pattern has inside shapes, keep following along to learn how to cut them out with your ChompSaw.

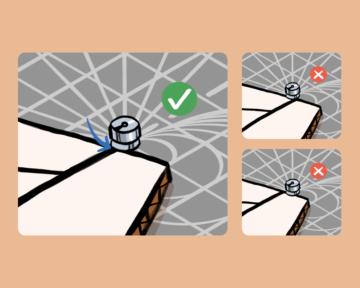
3. Place the hole
Once you have punched a hole, you can place your cardboard on your ChompSaw with the hole around the cutting head.

4. Cut your design
To make curves and turns, rotate the cardboard and keep pushing forward. Remember, the ChompSaw won't cut if you push sideways.
5. Rotate cardboard
Attach the astronaut hub (part F) to the back of the rocket body (part A). You should see your astronaut peeking out the window!
4) Make folds
1. Look for red dashed lines
Look for red dashed lines on your pattern—these are for valley folds.
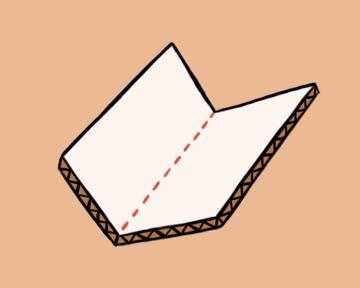
2. Fold into valleys
Fold the cardboard along the red dashed lines to make a V-shape, like a valley.
3. Look for blue dashed lines
Look for blue dashed lines on your pattern—these are for mountain folds.

4. Fold into mountains
Fold the cardboard along the blue dashed lines to make a peak, like a little mountain.
5) Apply tape
1. Look for yellow checkered sections
Look for yellow checkered areas marked on your pattern—these show you where to apply double-sided tape.
2. Look for yellow diamond plate sections
Look for yellow diamond plate areas marked on your pattern—these show you where to apply single-sided tape.

Tip: Peel off paper
If the paper pattern is peeling off or not sticking fully, carefully peel the yellow section off of the cardboard before you apply tape.
3. Tape on the front
Apply tape on the section. If you're applying double-sided tape, make sure to leave the adhesive layer on top—you’ll remove that later!
4. Look for purple checkered sections
Look for purple checkered areas marked on your pattern—these show you where to apply double-sided tape on the back of the part.
5. Look for purple diamond plate sections
Look for purple diamond plate areas marked on your pattern—these show you where to apply single-sided tape on the back of the part.
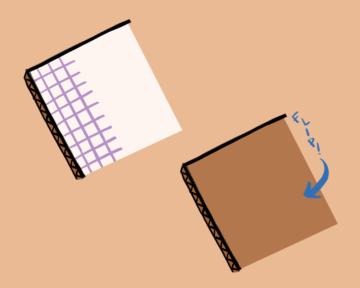
6. Flip the cardboard
Turn your part over so the back side faces up.
7. Tape on the back
Apply tape on the back of the cardboard behind the purple section. If you're applying double-sided tape, make sure to leave the adhesive layer on top—you’ll remove that later!
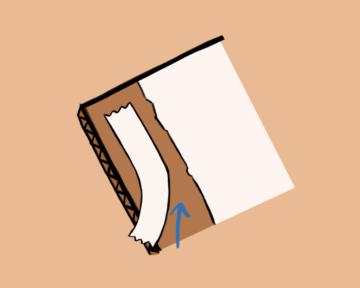
6) Remove Surfaces
1. Look for yellow squiggly lines
Look for the yellow squiggly lines on your pattern—these show you where to remove a layer of cardboard on the front of the part.
2. Look for purple squiggly lines
Look for the purple squiggly lines on your pattern—these show you where to remove a layer of cardboard on the back of the part (flip the cardboard!).
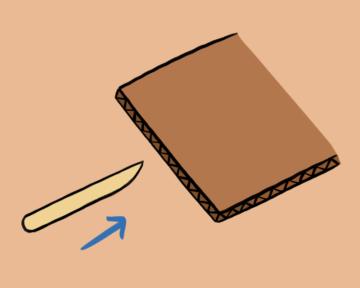
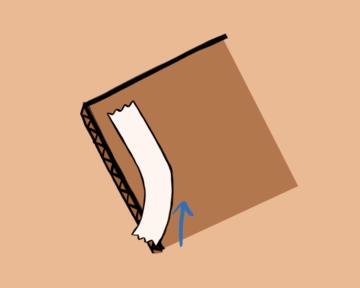
3. Grab your Scoring Tool
Grab your Scoring Tool to help you separate the layers easily.
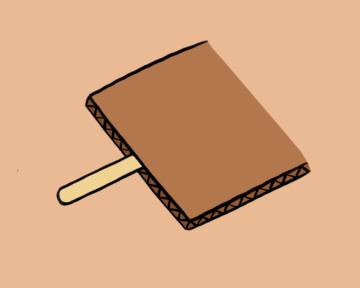
4. Insert between layers
Carefully stick the Scoring Tool between the layers of cardboard.
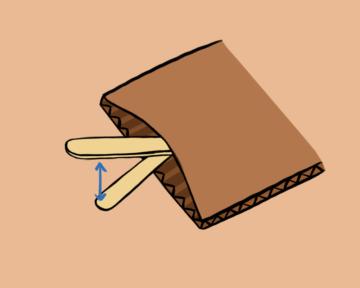
5. Split layers
Gently angle the Scoring Tool to start pulling apart the layers.

6. Remove surface
Use your hands to peel the cardboard layers apart, stripping the front layer for yellow sections and back layer for purple sections.
You're done!
Your pattern is all prepped. Now you’re ready to start assembling your project!
All Chompshop patterns follow these same guidelines, so once you know one, you'll know them all!