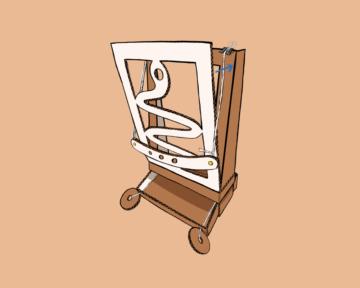
Snake Game
Charm the snake
Take on the slithery maze! Maneuver your marble through the many twists and turns of this balancing game. Can you charm the snake and make it to the end?
Step-by-Step Instructions
DOWNLOAD PDF INSTRUCTIONSFor this project, you will need:
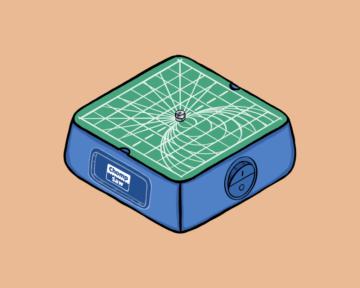
ChompSaw
You’ll need your ChompSaw handy to cut out all your parts.
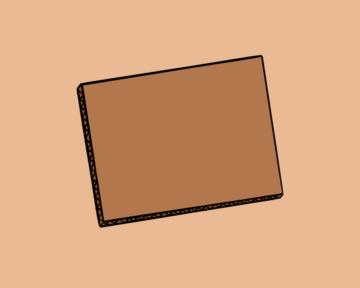
Cardboard
The main material that you’ll need to collect is cardboard! Try to find pieces that are 2-3mm thick.

Scissors
You'll need a pair of scissors to cut out your paper pattern.
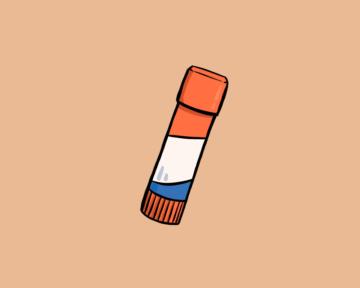
Glue Stick
You’ll use glue to stick your paper pattern on to cardboard.
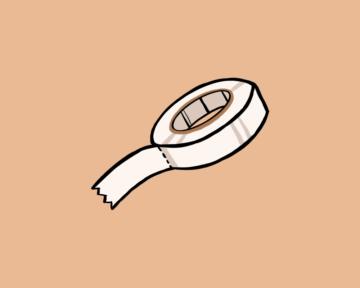
Double-Sided tape
Double-sided tape (included in your project pack) will help you stick all your parts together.
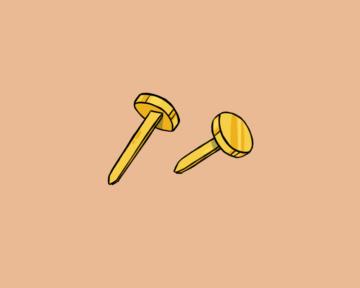
Fasteners
You'll use 2 brass fasteners (included in your project pack) to connect parts of your game.
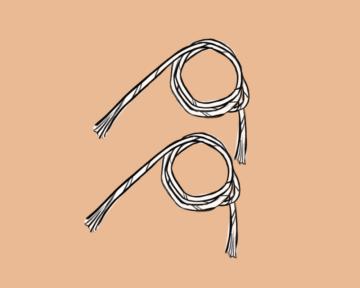
Cords
The 2 cords (included in your project pack) will help you control the game by lifting and moving the marble through the course.
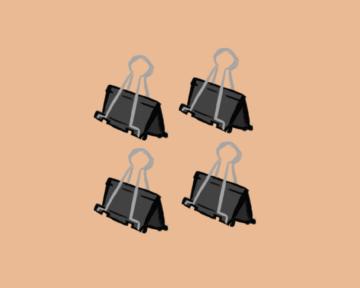
Binder Clips
The 4 binder clips (included in your project pack) will be used to add structure and help you move the cords smoothly.

Marbles
You’ll use marbles (included in your project pack) to play the game!
1) Prepare your parts

1. Grab your Snake Game pattern
This is your blueprint for building this project.
2. Follow our Pattern Guide
Follow our Chompshop Pattern Guide to prepare all your parts for assembly.
2) Build the base

1. Grab part V
Look for the pattern pieces labeled with these letters.
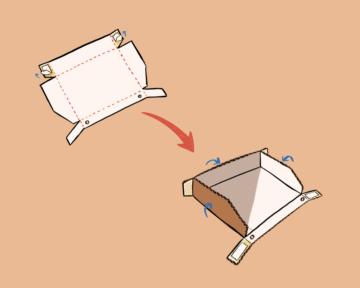
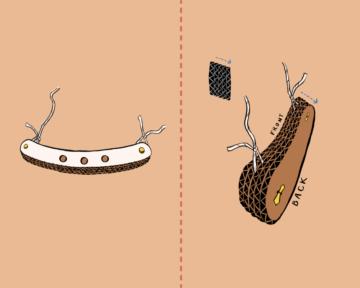
2. Fold in back and sides
Peel the adhesive on the back tabs of part V. Then fold up the back and sides of the part into a box shape.
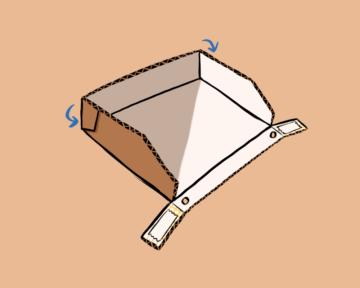
3. Attach back tabs
Fold over the back tabs and press them into place.
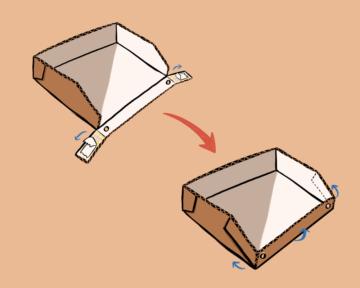
4. Attach front tabs
Peel the adhesive on the front tabs of part V. Fold up the front flap, then fold over the tabs and press them into place.
3) Build the frame

1. Grab parts W, X, Y, and binder clips
Look for the pattern pieces labeled with these letters.
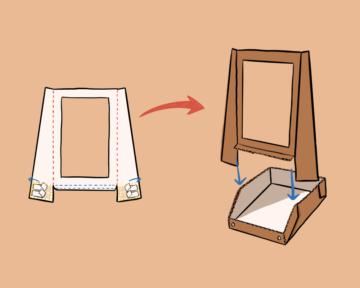
2. Insert part W into base
Peel the adhesive on part W. Then insert it into part V, making sure to align the edges of part W with the back tabs of part V.
3. Attach tabs
Fold over the tabs on part W and press into place.
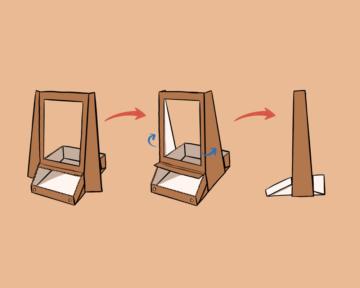
4. Attach part X
Peel the middle section of adhesive on part X, and attach under the bottom flap of part W. Then peel off the adhesive on part X, fold up the flap, and attach to the sides of part W.
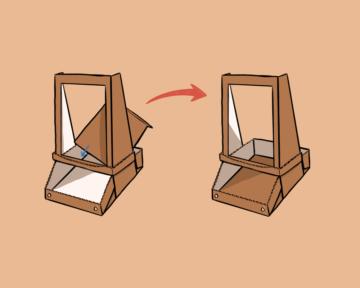
5. Attach part Y
Place part Y into the bottom cavity of part V.
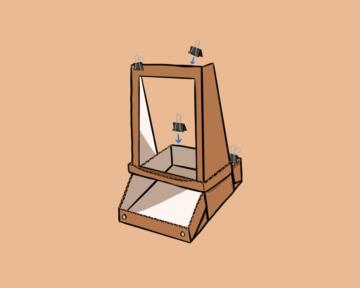
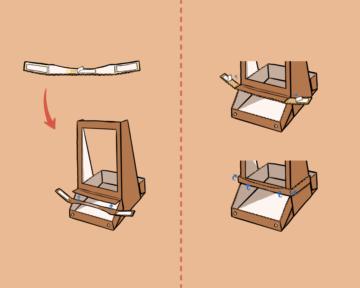
6. Attach binder clips
Attach 2 binder clips to the front and 2 clips to the back of the assembly.
4) Build the pull mechanism

1. Grab parts AA, AB, Z, cord, and fasteners
Look for the pattern pieces labeled with these letters.
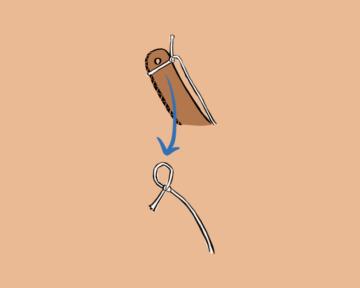
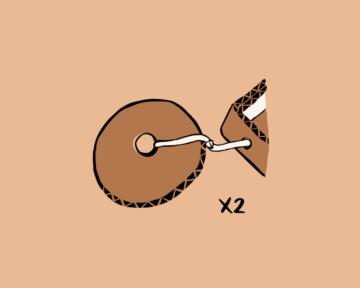
2. Tie loop in cords
Tie a loop on one end of each cord. Tip: You can use part AA to help you. Tie a loop by wrapping the cord around part AA and tying a knot. Then slide the loop off the part!
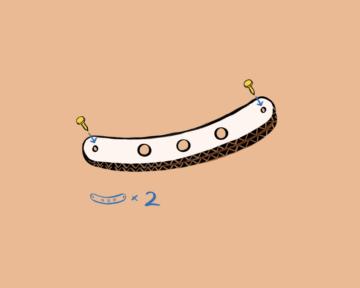
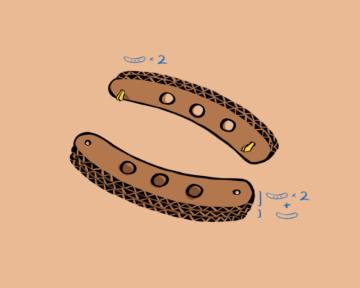
3. Create 2-layer stack
Stack 2 pieces of part AA on top of each other, and insert 2 brass fasteners into the holes on the ends.
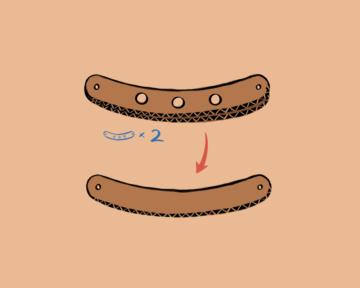
4. Create 3-layer stack
Make another stack with the remaining 2 pieces of part AA on top of part AB.
5. Align the stacks
Place the 3-layer stack on the bottom, and align the 2-layer stack on top with fastener ends pointing down.
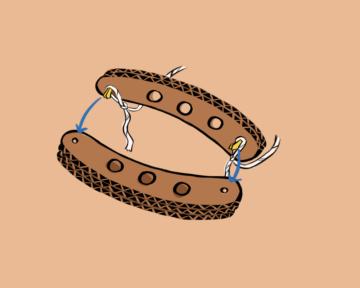
6. Loop in cord between stacks
Hook the cord loops on the brass fasteners. Then place the top stack down and fasten the bar into place. The cord loops should be sandwiched between layers!
7. Align the bar layers
Make sure to adjust so that all layers line up nicely and the bar creates a curved ramp shape.
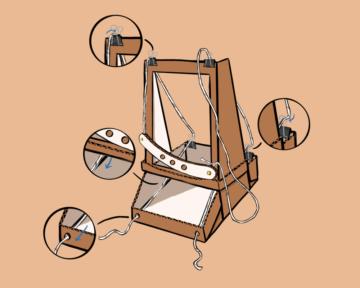
8. Feed cords
Feed the cords through the top binder clips, back in through the bottom binder clips, and out through the hole on the front of part V.
9. Create handles
Tie the end of each cord around a part Z to create 2 handles.
5) Set up the snake
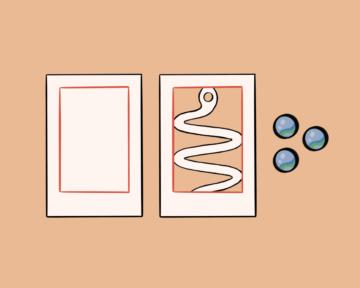
1. Grab parts AC, AD, and marbles
Look for the pattern pieces labeled with these letters.
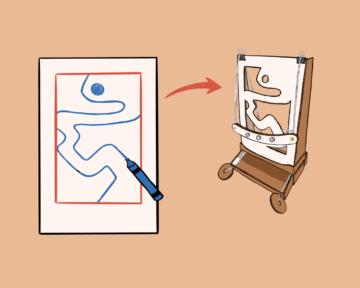
Bonus: Create your own snake
Use part AC to draw and cut out your own custom snake shape!
2. Place snake
Insert part AD (or AC) as shown and secure into place with the binder clips on top of the frame.
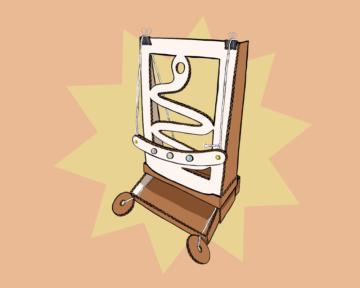
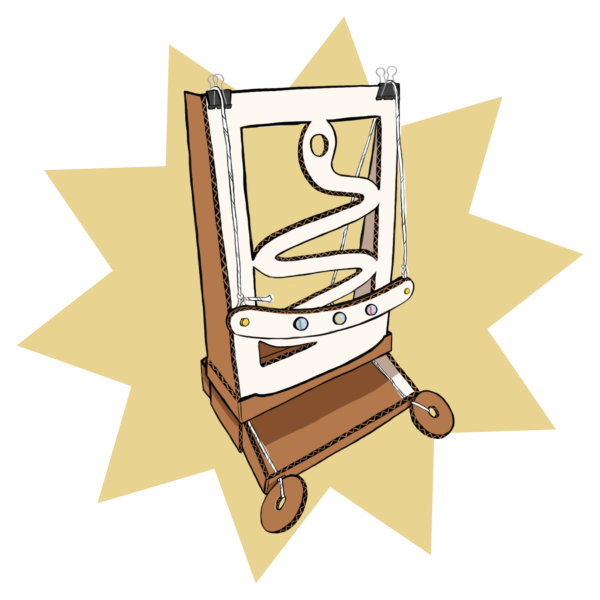
Done!
You’re ready to play!
6) Play!
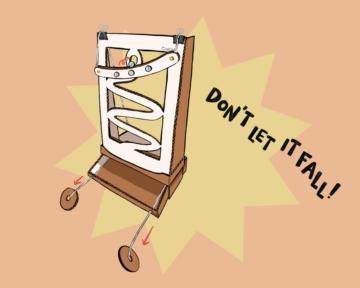
1. Follow the snake
Place a marble on the top of the bar, then pull on the ring handles to tighten the cords and lift up the marble on the bar. The goal is to follow the snake shape and get your marble into the top hole!
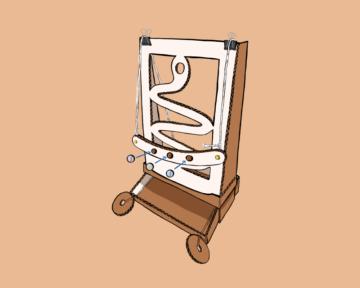
Tip: Store your marbles
Use the holes on the bar to store any extra marbles as you play.
Slow and steady! Light, controlled pulls on the cords will give you the best shot at getting the marble into the hole.