accessories hero
< BACK TO LEARNING CENTER

ChompSaw Accessories

Level up your cuts

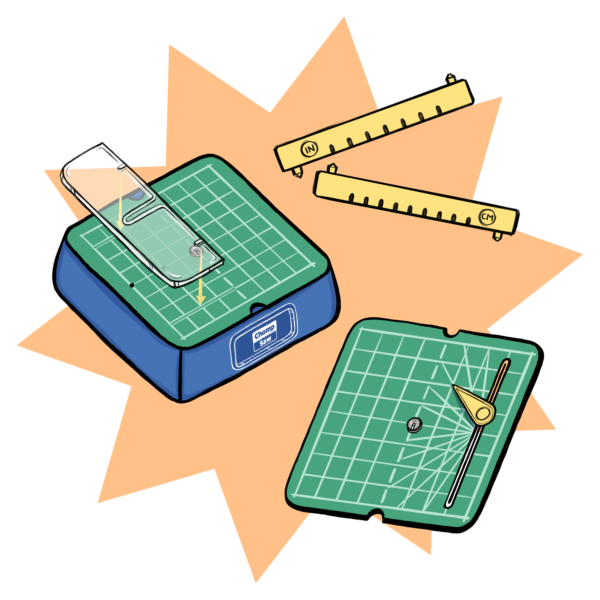
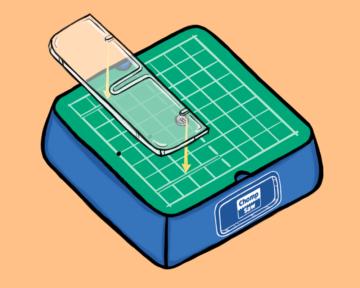
Accessories can take your cutting skills to the next level by helping you make perfectly straight lines, angles, and circles.

Step-by-Step Instructions
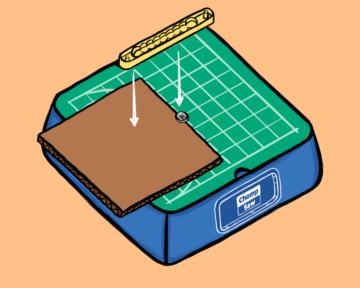
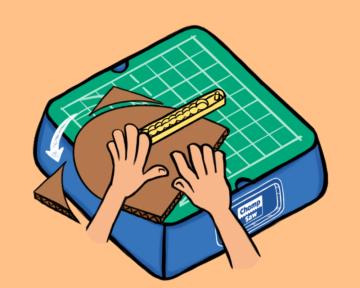
DOWNLOAD PDF INSTRUCTIONS

1) Straight cuts with the Fence

  • 1. Place down

    Place the two nubs on the bottom of the Fence into the parallel slots on the ChompSaw lid.

  • 2. Slide into position

    Slide the Fence along the slots to match the size you want your cut to be (between 1/4 to 3 1/2 inches).

  • 3. Tighten in place

    Once in position, use the thumb screw to tighten the Fence into place.

  • 4. Cut

    You're ready to cut! Gently feed in your cardboard, keeping one edge pressed against the Fence to cut a perfectly straight line.

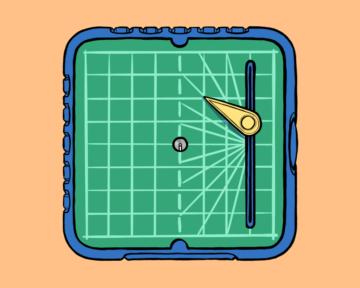
2) Precise angles with the Angle Guide

  • 1. Place down

    Place the nub on the bottom of the Angle Guide into the vertical slot on your ChompSaw lid.

  • 2. Adjust the angle

    Set your angle by aligning the edge of the Angle Guide with the marking lines on the lid (each line marks 15 degrees).

  • 3. Cut

    Hold your cardboard against the edge of the Angle Guide. Then make your cut by moving the guide along with your cardboard as you feed it into the cutting head.

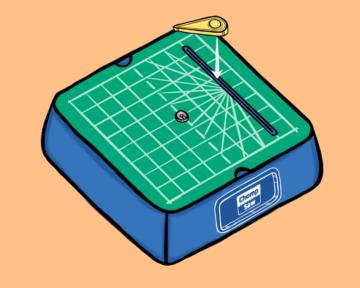
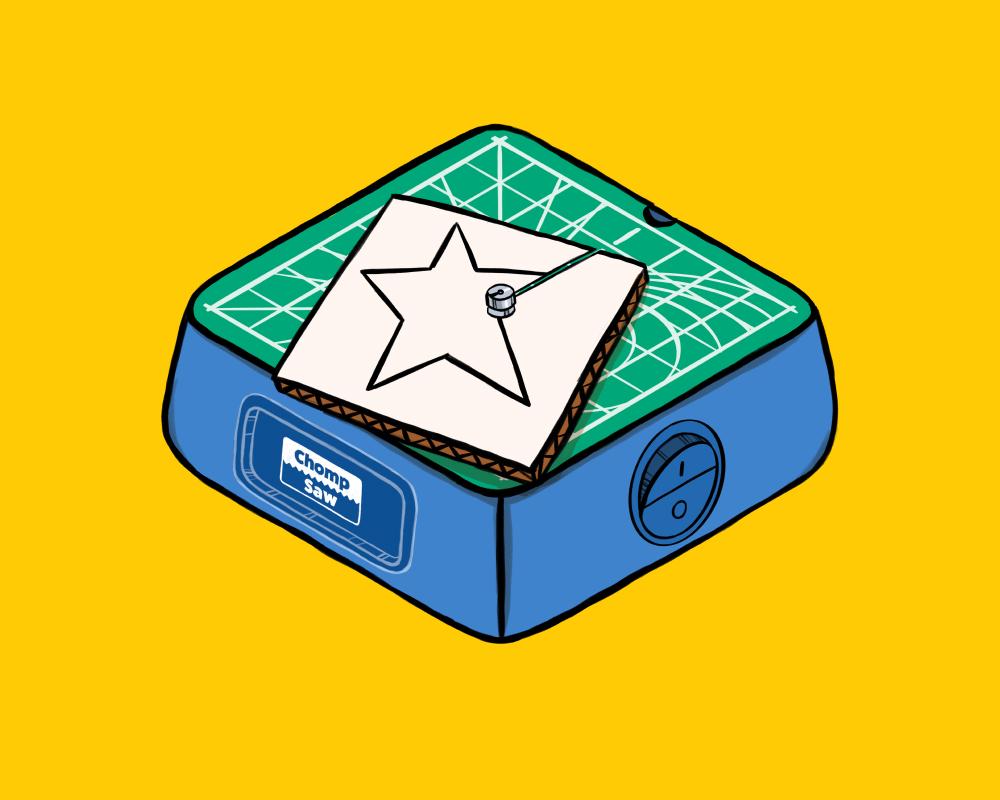
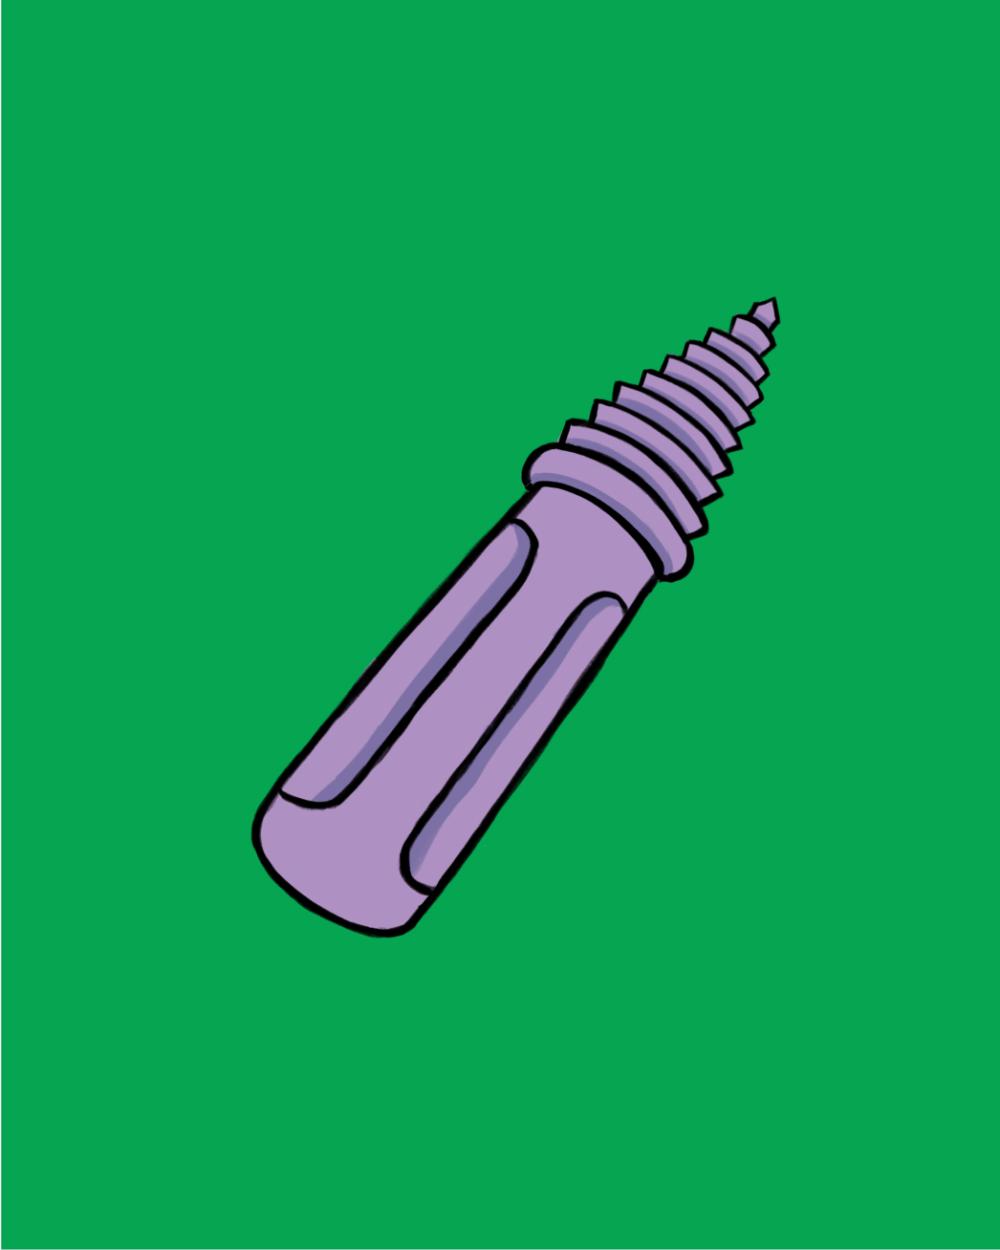
3) Perfect circles with the Circle Guide

  • 1. Choose circle size

    Choose your circle radius—you can flip the Circle Guide for inches and centimeters!

  • 2. Place down

    Place the Circle Guide over the cutting head, making it perpendicular (like a “T” shape) to the cutting direction.

  • 3. Rotate to cut

    Apply pressure down on the Circle Guide and rotate the cardboard to feed it into ChompSaw cutting head and cut your circle.

Tip:

Practice makes perfect! Don't worry if your first cuts aren't flawless - keep trying, and you'll master these tools in no time.

Other Tools

  • chomp saw carousel

    ChompSaw

  • hole punch carousel

    Hole Punch

  • scoring tool carousel

    Scoring Tool

  • workstation carousel

    Workstation